

Step-by-Step DIY Scented Candle Guide for Creative Apartment Residents
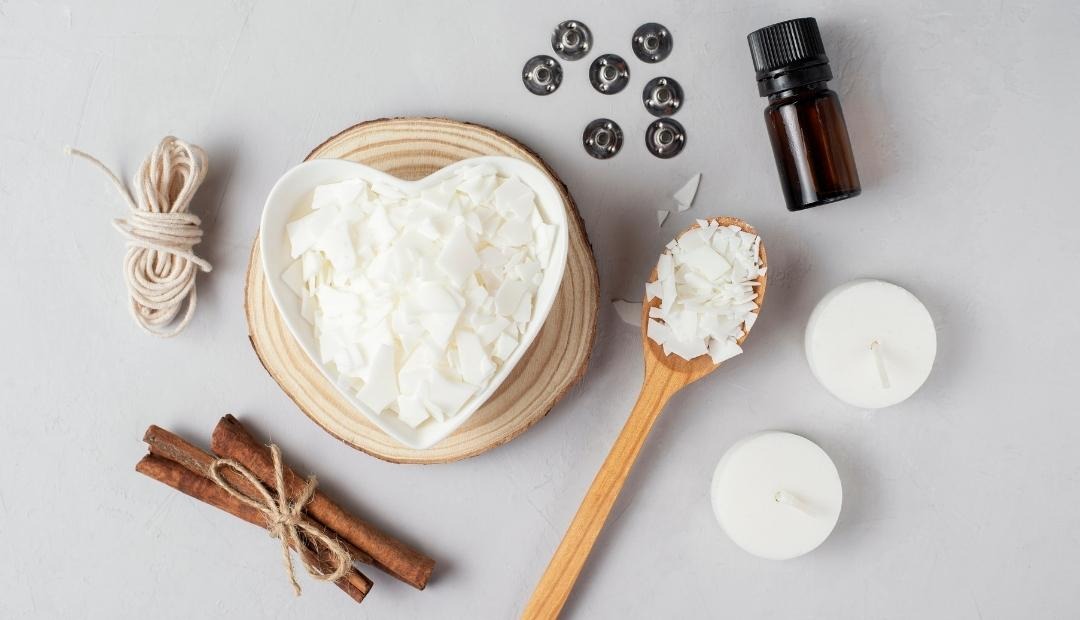
Who doesn't love the warm glow and relaxing ambiance of homemade scented candles? They add coziness to any apartment, creating a sanctuary for unwinding after a long day.
While scented candles can often come with a hefty price tag, crafting them at home provides an affordable and customizable alternative. Plus, it makes for an engaging hobby that allows you to mix and match fragrances and colors to perfectly personalize your space.
Add in a few weekends of fun, and you can fill your apartment near Culver City with the soothing scents that make a house feel like home. In this blog, we will guide you through the process of creating your custom aromatic candles.
Supplies to Get Started
Tools for the Trade
- Saucepan
- Heat-proof bowl or measuring jug
- Weighing scale
- Spatula
- Wick holder or chopsticks
- Candy thermometer
Required Materials
- Wax (paraffin, soy, or a blend)
- Cotton wicks
- Hot glue or wick stickers
- Heat-resistant candle container (glass jars or tins)
- Fragrance oil
- Dye (optional)
- Small glass containers for measuring additions
- Paper towels
How to Make Your Own Scented Candles
1. Get Your Wax Ready
Start by placing a heat-resistant bowl on the weighing scale to measure your wax. Adjust the weight to align with your container size. As an example, allow 1-ounce of wax for every 1-fluid ounce your container holds.
2. Melt the Wax Gently
Using a saucepan, fill halfway with water and bring it to a simmer. Place your wax-filled bowl over the pan to create a double boiler effect, enabling the wax to melt evenly. Stir it periodically for uniform melting.
3. Prep Your Candle Container
While the wax is melting, clean your candle container with soap and water, dry thoroughly, and set it on a stable surface. If using multiple containers, leave some space between each one for ease of handling.
4. Secure the Wick
Apply hot glue or a wick sticker to the bottom of the wick tab and press it firmly into the middle of the container. A wick holder or chopsticks can aid in keeping the wick centered and vertical during the pour.
5. Incorporate Fragrance and Color
Measure the desired amount of fragrance oil and dye, keeping them in separate glass containers. Monitor the wax with a candy thermometer and add fragrance oil when it reaches 175°F. Stir consistently for even distribution of scent.
6. Pour Your Wax
Let the wax cool to around 130°F before you begin pouring it into the container. Use a spatula for controlled pouring, avoiding disturbance to the positioned wick. Allow the wax to expand naturally within the container, ensuring it covers the bottom evenly.
7. Final Touches: Trim the Wick
Offer 24 hours for the wax to set and harden thoroughly. Once set, snip the wick to a suitable length. With this, your hand-crafted candle is ready to fill your apartment with its beautiful glow and fragrance.
By indulging in this creative DIY project, your living space will gain a personal touch that mirrors the vibrant community surrounding Del Rio Apartments. With amenities like private patios and gourmet kitchens, there's no better place to unwind and showcase your handmade creations.
How Can Del Rio Apartments Enhance Your Lifestyle?
Located advantageously near freeways, Del Rio Apartments offers not just a home but a community thriving with possibility. Whether you prefer the tranquility of a rooftop sundeck or the social charm of nearby restaurants and shops, Del Rio Apartments stand out as a desirable destination for creating and living your best life. Discover the comfort and community at Del Rio Apartments, situated conveniently near the attractions of Culver City, blending local convenience with modern amenities.